The Balance of Bright and Dark as the Key to Successful Chiaroscuro Food Photography
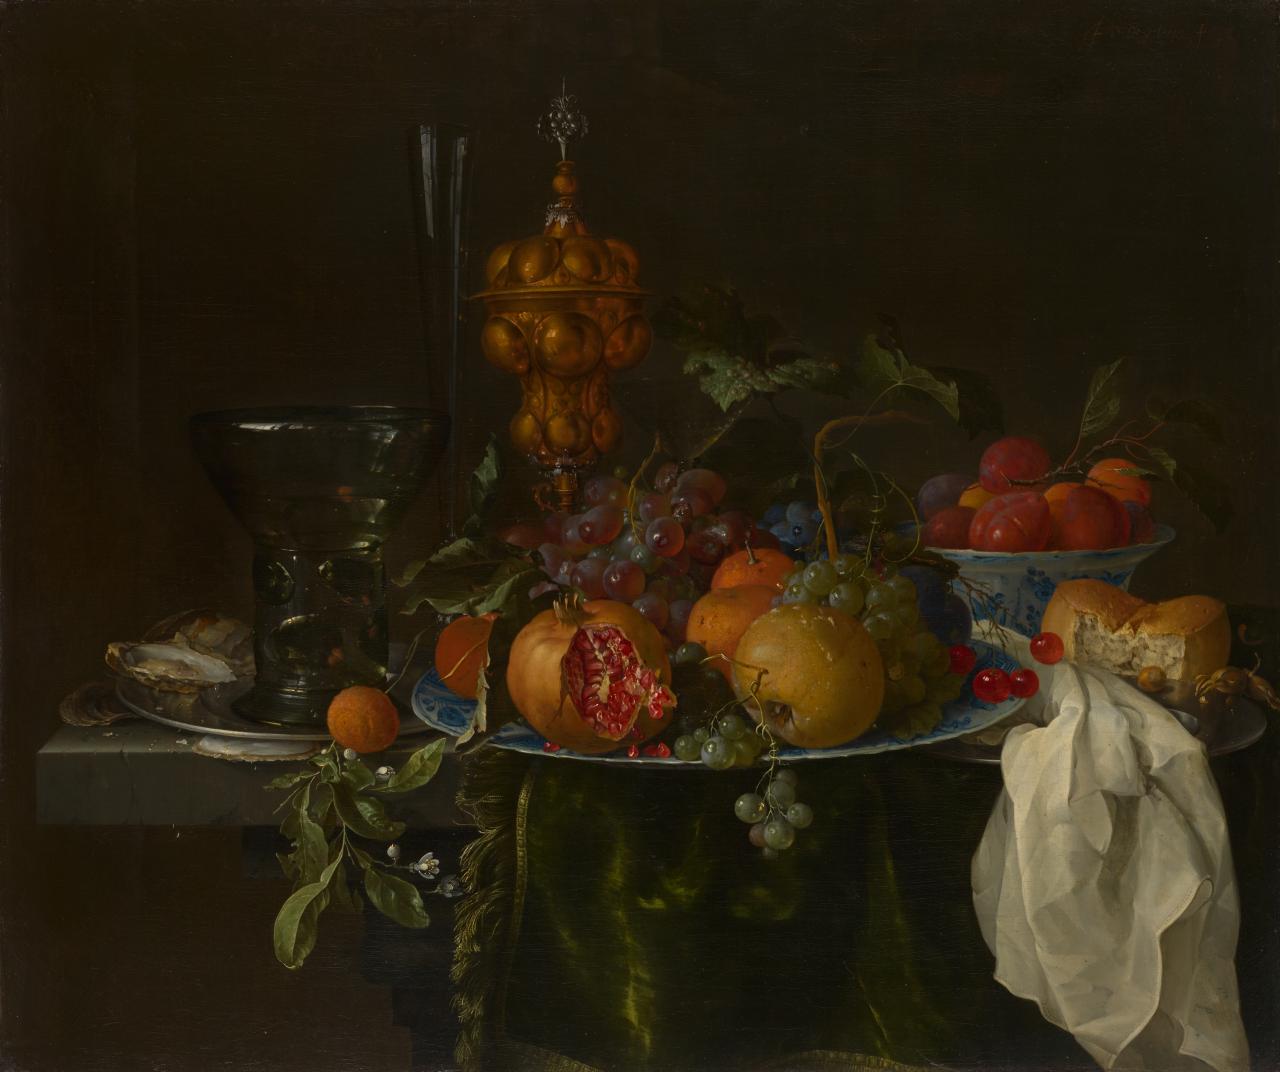
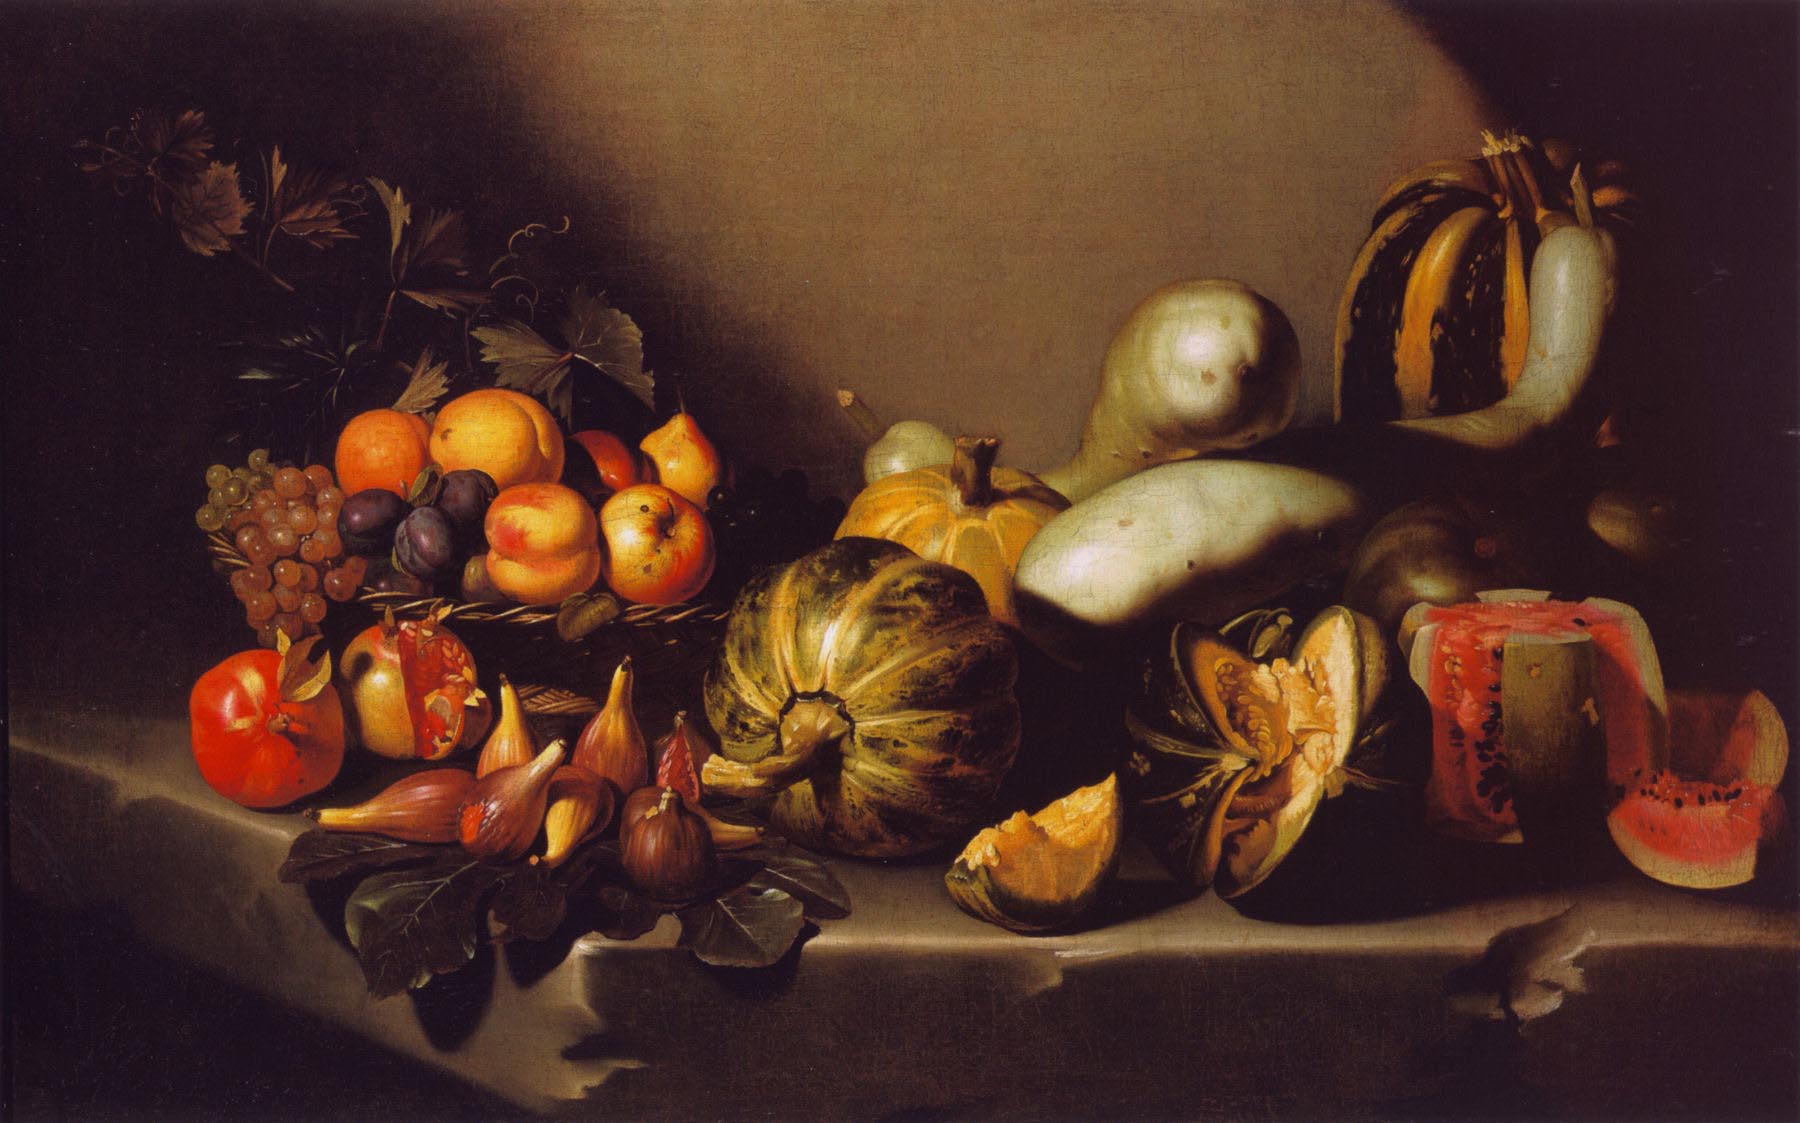
Chiaroscuro food photography, often also referred to by the names dark food photography, and moody lighting photography, has been one of the dominant trends in food photography over the last few years. It’s a technique that gains its distinctive look from the lighting method used, and finds its origins in classical art: the most obvious example being the tempestuous Italian painter Caravaggio or Flemish Baroque trailblazer Jan Davidsz de Heem
What is Chiaroscuro Food Photography?
It sounds more complicated than it really is. Imagine the basement of a Tuscan farmhouse, illuminated by the light from a single small window set high up in the wall. A narrow beam of the sun’s rays projected into the subterranean gloom, casting long, hard shadows across the room. Or a shaft of diffused light bouncing in at dusk, picking out objects on the table in soft twilight relief.
Chiaroscuro lighting technique is painterly and sophisticated, adding an arty and luxurious touch to a food photography shoot. And once you know how, it’s not even such a difficult effect to achieve. Let’s take a look.
When to use Chiaroscuro Food Photography?
Like Caravaggio himself, this is a style of photography that is moody and dramatic. So let’s say that the atmosphere of a chiaroscuro photo tends to be more sinful than it is saintly. Consequently, chiaroscuro lighting is not especially suited to occasions where you want to communicate a feeling of clean, lightweight, and healthy eating.
Instead, chiaroscuro is a technique for creating a mood of dark opulence and luxury. And with its Renaissance associations, chiaroscuro lighting works particularly well for more classical scenarios, such as a rustic banquet.
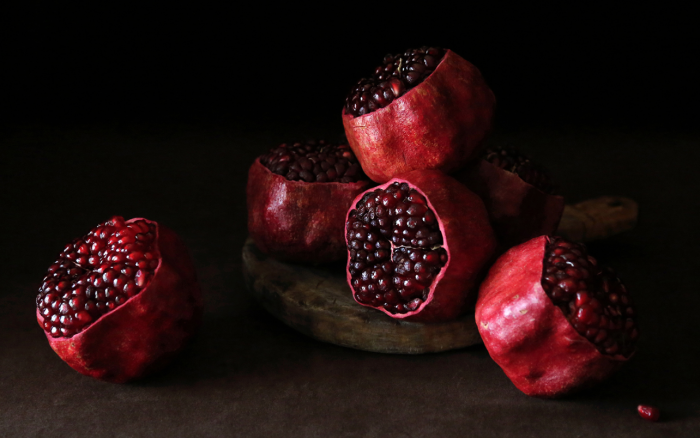
Try it when shooting rich, earthy flavors; chocolate, red wines, Thanksgiving dishes. Lavish still-lifes of the fall harvest: fruits, nuts, and root vegetables; meat and game; fine cheeses.
How to shoot successful chiaroscuro food photography?
Amateurish attempts at chiaroscuro often consist of little more than just shooting a regular image under average lighting, and then heavily vignetting it in post-production. Unfortunately, the result of doing it this way is normally cheap and unconvincing. There’s a lot more to the technique than simply shooting a normal photo and then making it darker.
Yes, you’ll probably want to go for a lower key look than usual, but merely underexposing your photos will not produce the results you’re looking for. Indeed, you will likely want some areas of the image to remain correctly exposed, otherwise there’ll be nothing for the viewer’s eye to focus on.
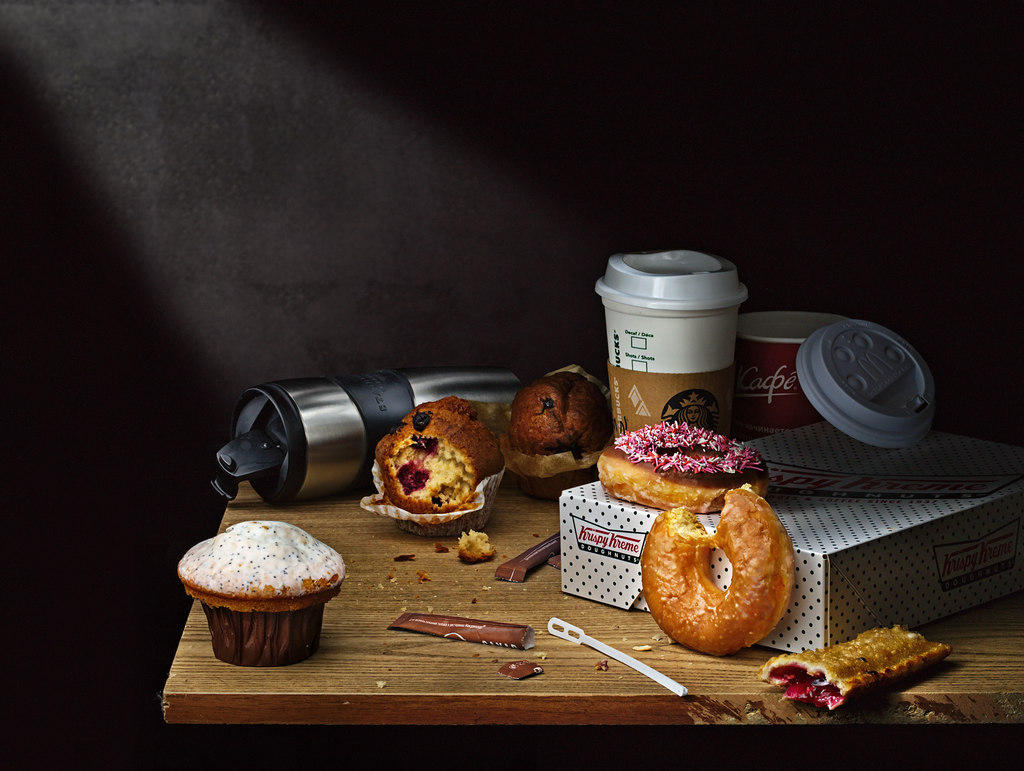
Instead, the angle and quality of light are of huge importance here. Although chiaroscuro food photography can work well with a light source casting either hard or soft shadows, the important thing is that it casts very noticeable shadows, with fairly high contrast between shadow and highlight areas. Chiaroscuro literally means “bright and dark,” so the goal here is to emphasize the shapes and forms of the items you are photographing by means of this opposition between light and shade.
Aim for contrasty, directional lighting. Imagine the single small window we described above, and recreate this using an artificial light source. For hard lighting, you could try using just a bare strobe-head, adding barn-doors or honeycomb grids to keep the spill of light quite narrow. For a softer look, try a medium sized softbox, and then if necessary position black flags in order to restrain the spread of light.
Designing a Chiaroscuro Food Photography Set
Consider your backdrop. You’ll struggle to achieve the chiaroscuro look at all if you use a very light colored surface as a background. This would just act like a reflector, bouncing light back onto your subject from all angles, undermining your attempts to achieve moody and directional lighting.
Make the most of negative background space
Many photographers like to use the chiaroscuro technique with a black or dark-gray background, such as a sheet of stone or slate. While this can be very effective, you need to be quite careful here that it doesn’t just lead to a shot with a plate of food floating on a sea of pure black. Instead you’ll likely want to preserve some detail and texture in the background to retain interest.
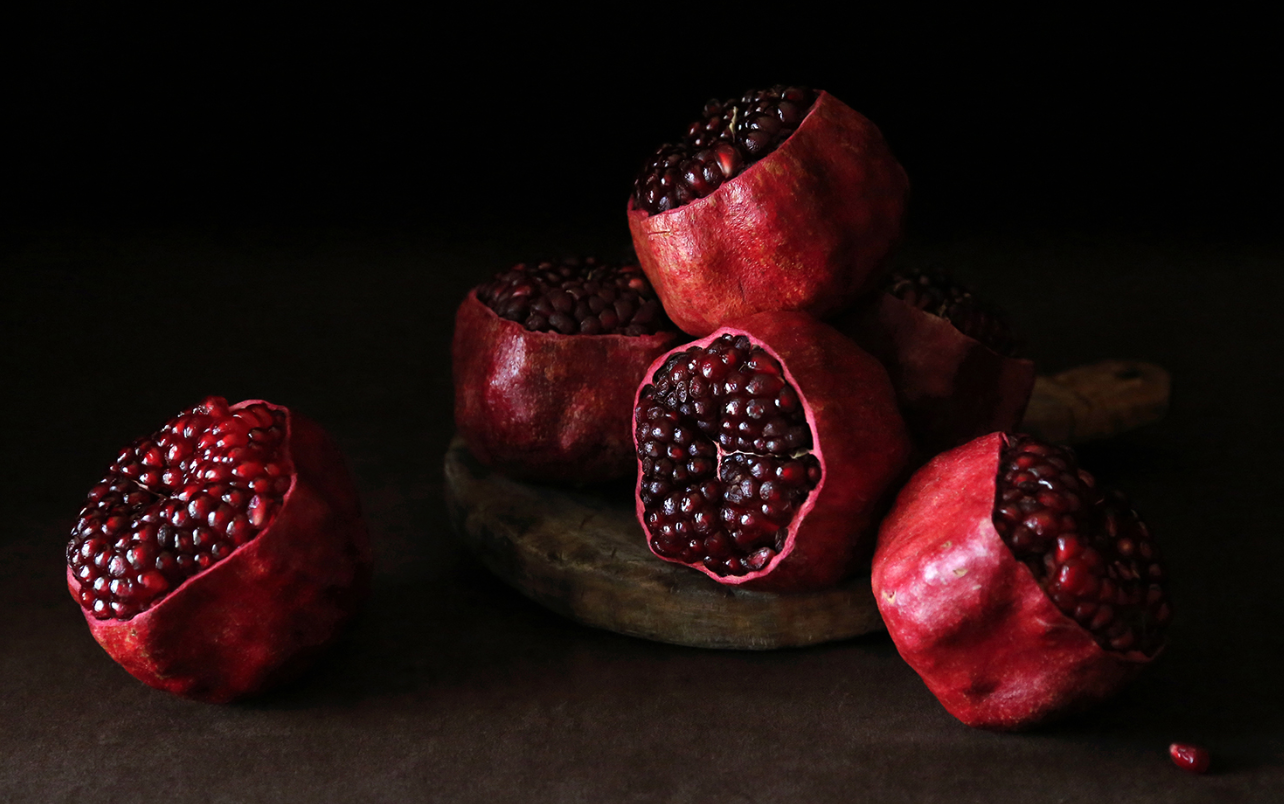
Thankfully though, lighting from a low angle helps to emphasize texture, so if your positioning of the light is good, and the background isn’t overly smooth, you should be able to retain a large amount of information even when photographing very dark surfaces.
If you are struggling to get any detail in a dark background, it may be tempting to increase the power of your lights or to open up your aperture for a brighter exposure. Although this may help up to a point, the secret of successfully illuminating dark surfaces and objects actually lies elsewhere, in the creation of spectral highlights.
This simply means positioning your light source so that its reflection is directly visible to the camera in the surface you are photographing. Here it helps to use a larger light source, so you may find that a soft box is more appropriate for such shots than just using a bare flash-head.
As an alternative to a stone background, chiaroscuro lighting can also work very well when using an irregular wooden backdrop such as a rustic farmhouse table.
Accentuate with props
Part of chiaroscuro photography is knowing how to incorporate outside objects in order to highlight your subject. The fact of the matter is that some props work better than others. Look for prominent textures that might pick up a few specs of highlight. Bronze, copper, and stained metallic vessels work especially well. Also consider bringing in props that add contrast. You’d be surprised to see just how much a white wicker basket or china plate can add to a dark composition. Lastly, think carefully about how light will interact with the props you’ve laid out. For instance, low light can cast beautiful long shadows through transparent items such as bottles and glasses.
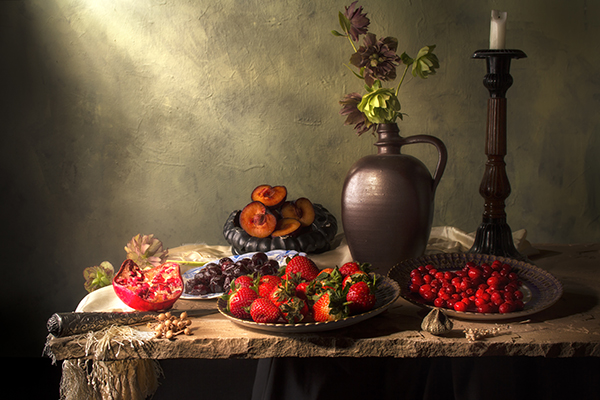
Aside from this, you should also consider the texture and form of the food itself. The food should always play the biggest role in your scene. In particular, bumpy skins, grooved shells, and thick crusts respond especially well to chiaroscuro lighting conditions. With their rough surfaces and organic forms, bread, nuts, fruits, seeds, grains – even polarizing subjects like cured meats – can all look amazing photographed in chiaroscuro.
Are you practicing or in love with chiaroscuro photography lighting? Please share you work by signing up at Phoode Creatives for a chance to be featured on our blog.


